Holiday time is so fraught with so much to do and not enough time. Between the work parties, holiday shopping, and family events, it’s so hard to not feel overwhelmed. Part of the fun of the holidays is taking time to enjoy with friends and family. Are you thinking about what festive cocktails to serve at your next holiday fête? I’ve got you covered. Here are three boozy blood orange cocktail ideas for your next gathering. My favorite way to stay ahead of the fray is to have short cuts on hand. I hate feeling rushed. So, for me, that means prepping ahead.
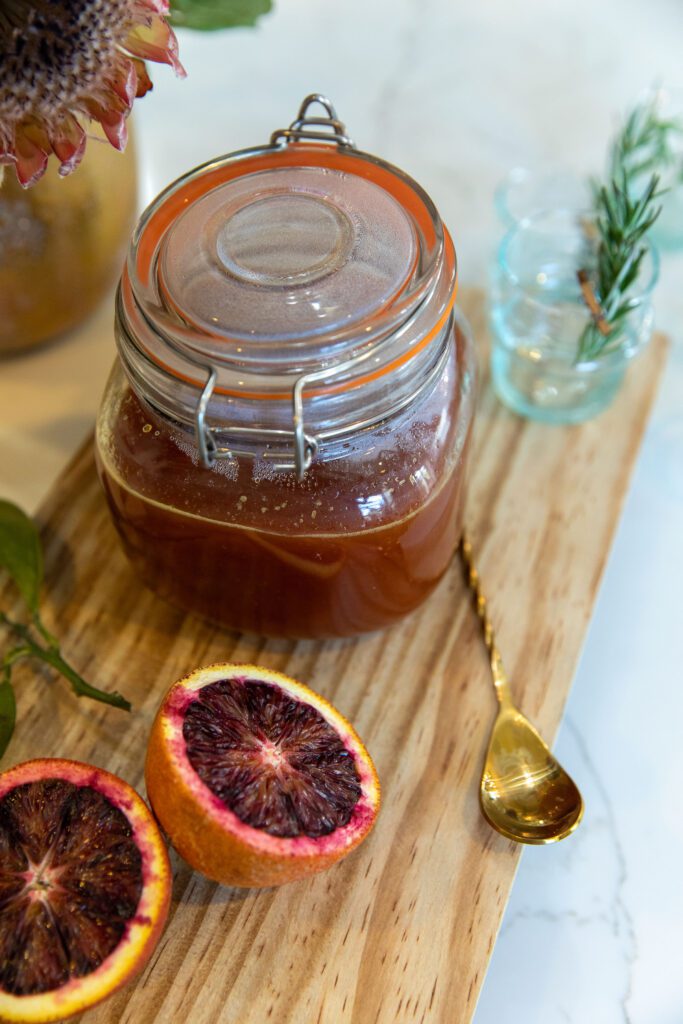
That’s where these 3 easy recipes for boozy blood orange cocktails come in. They all use the same do ahead blood orange simple syrup. With just 2 simple ingredients you will have a beautiful and delicious silky syrup ready to be used. Also, this syrup is so versatile, it can be used on dressings, ice cream, cakes, and even waffles.
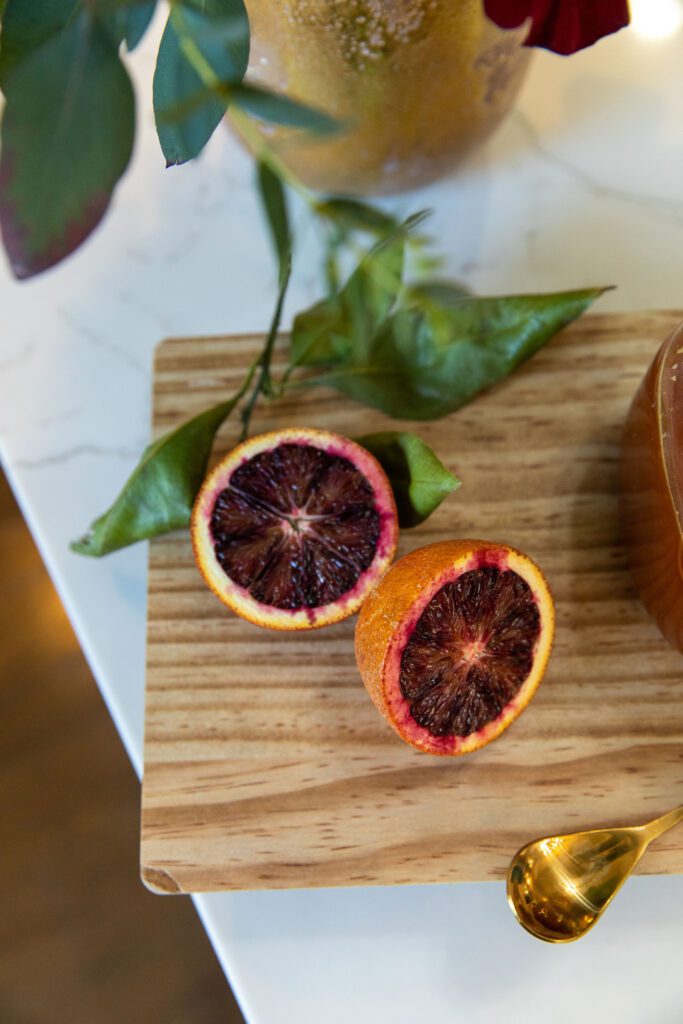
Why blood orange syrup you ask? Well for one, blood oranges have a seasonal beaufitul deep red and pink hue that just screams holiday. The blood orange syrup is bursting with blood orange flavor. Blood oranges have a complex flavor with floral and tart notes. Similar to navel oranges, but sweeter and less acidic. For reference, blood oranges also have a similar flavor profile to that of raspberries.
Blood Syrup Orange Recipe
Ingredients water, cane sugar, blood orange juice
- In a saucepan, add 1 cup of water, 1 cup of sugar, and 1/2 cup of blood orange juice.
- Bring all the ingredients to a boil over medium-high heat.
- Stir.
- When the mixture comes to a boil, remove from heat, cool completely.
- Strain syrup and store into an airtight container.
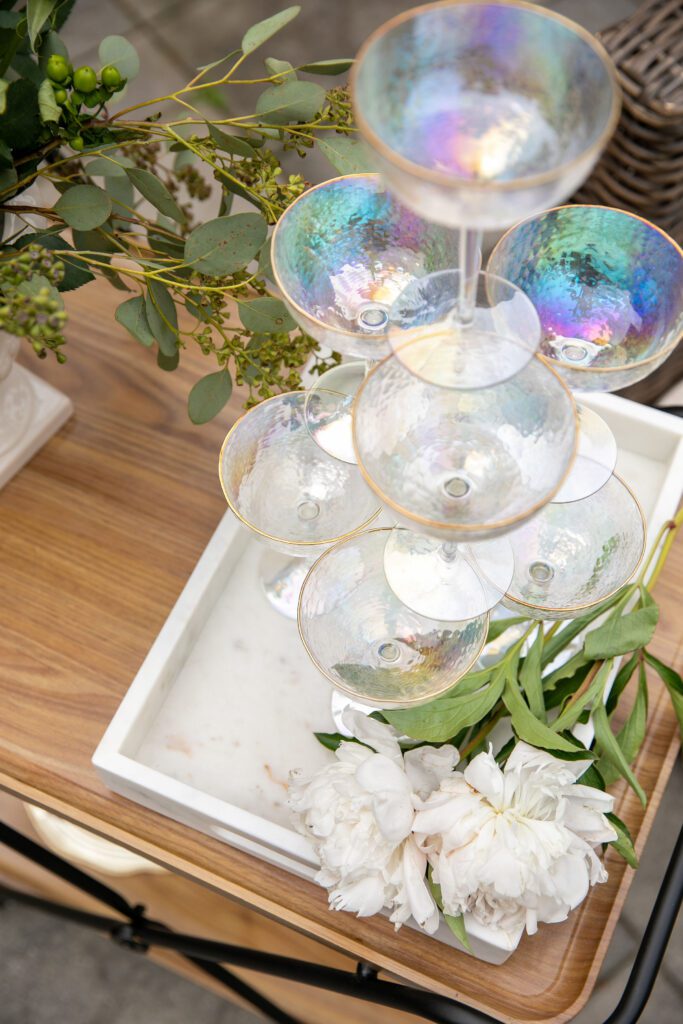
Boozy Blood Orange Cocktail Recipes
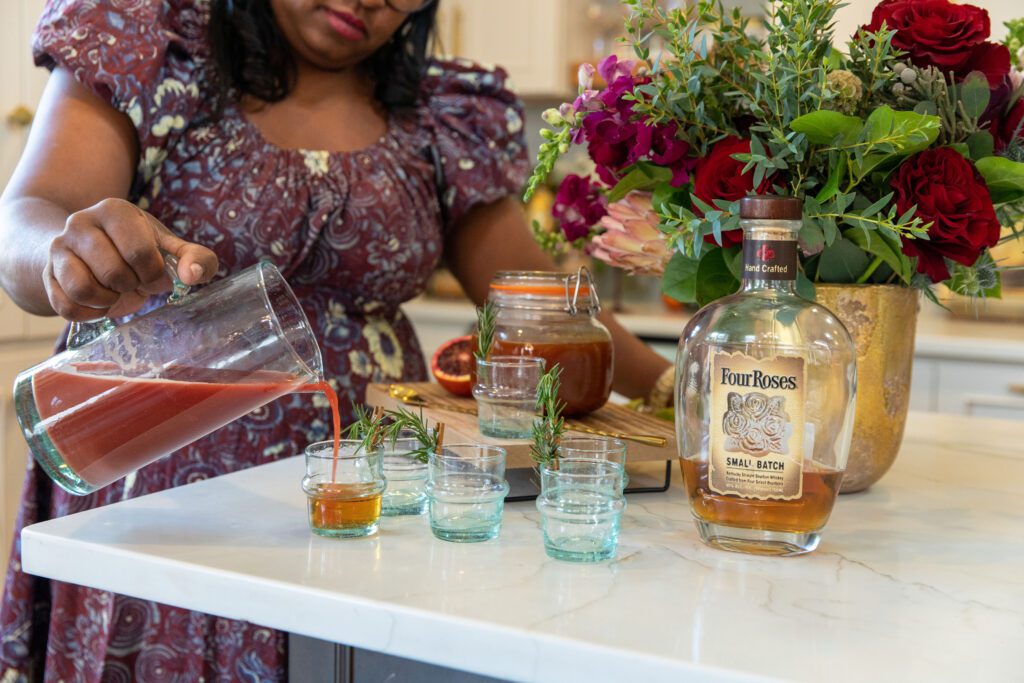
First up, is the Blood Orange Old Fashioned
Here is basically how to assemble the cocktail.
- In an old fashioned glass, add in the 1 oz blood orange syrup and muddle with a blood orange peel.
- Fill with ice and add in 2 oz bourbon. Stir gently.
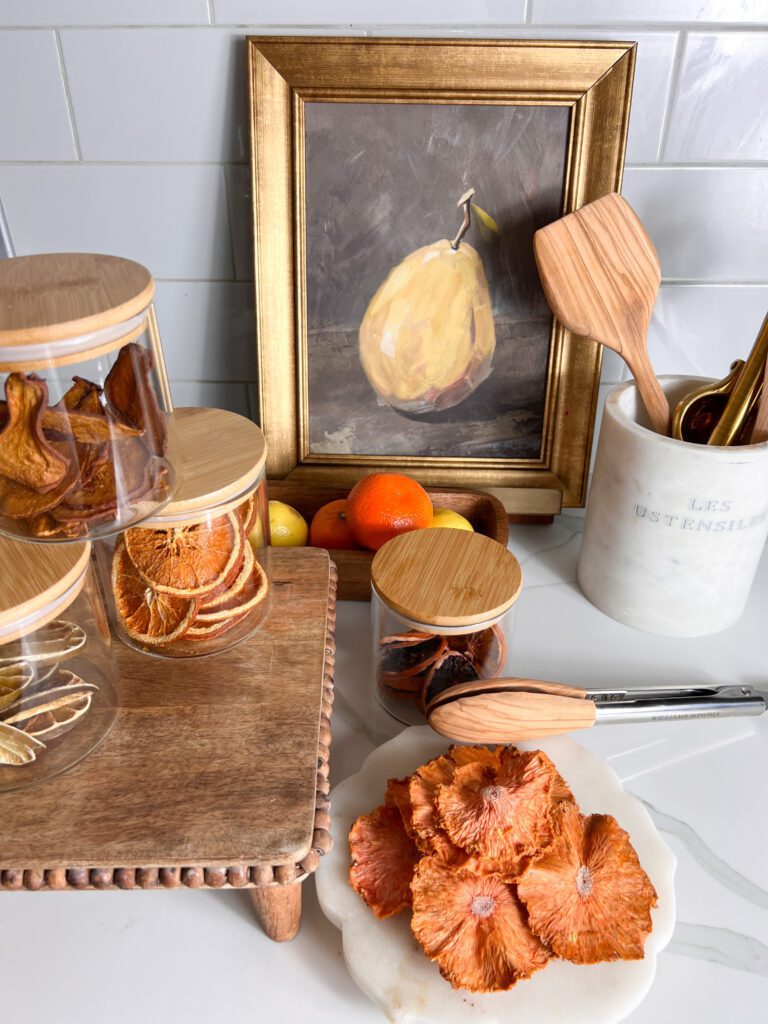
- Garnish with a dehydrated blood orange slice.
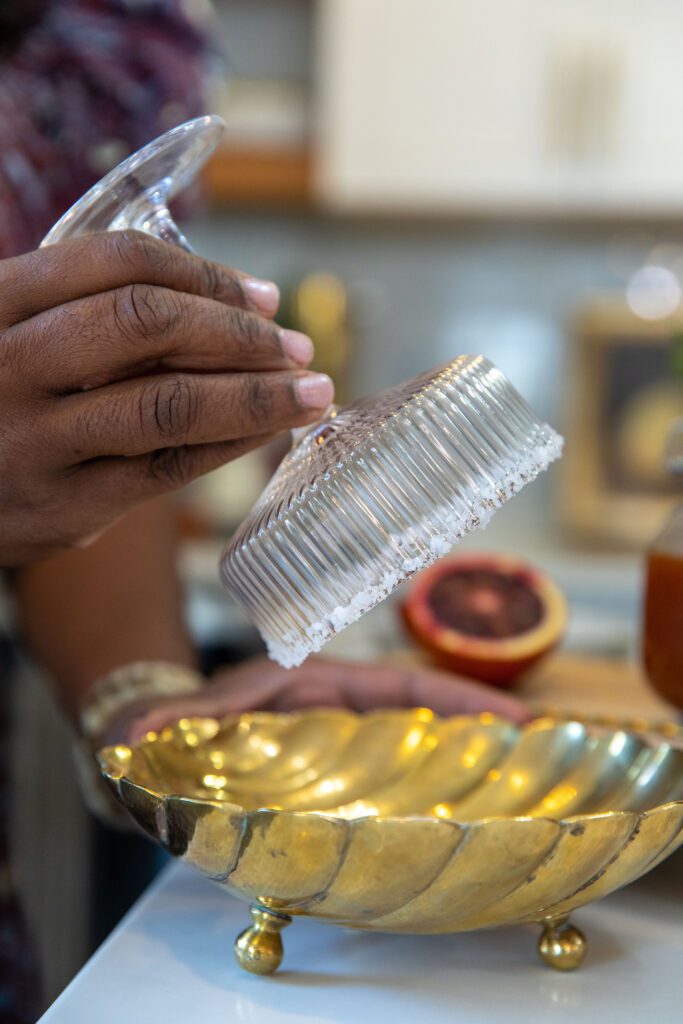
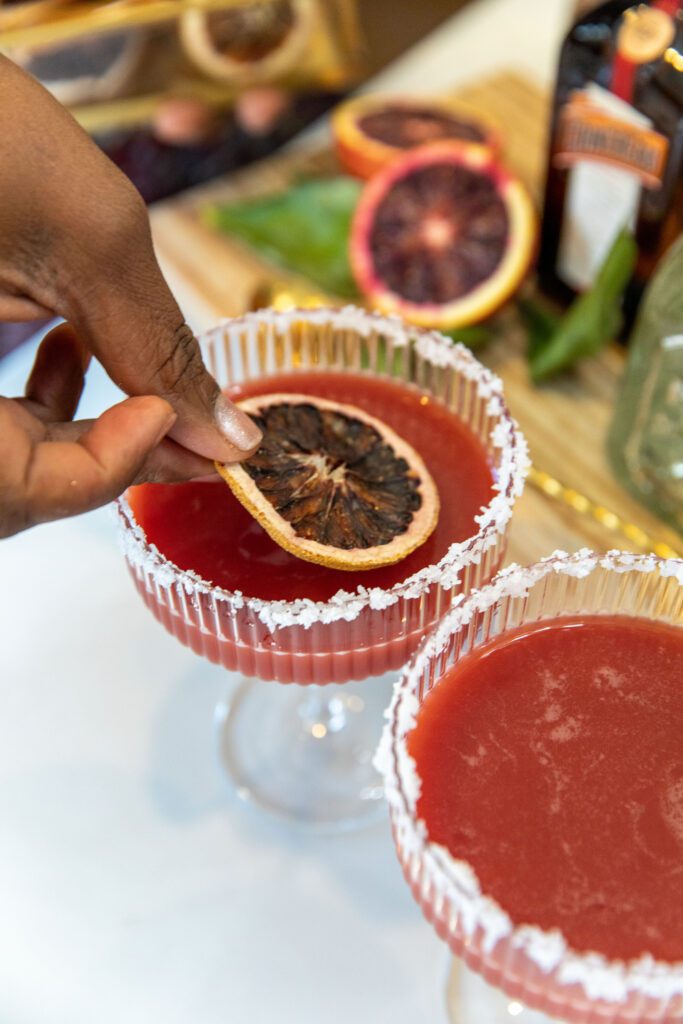
Next up, Blood Orange Margarita
Ingredients (makes 2 mixed drinks)
- 3 oz silver tequila
- 1.5 oz triple sec
- 3 oz blood orange simple syrup
- 1 oz fresh squeezed lime juice
- ¼ cup Pink Himalayan salt ( or glass rim)
- Blood orange slices for garnish
Instructions
- Spread salt on a small plate. Wipe the rim of two coupe glasses with a lime wedge. Dip the glasses into the salt to coat the rim.
- In a shaker filled with ice, combine the tequila, orange liqueur, blood orange syrup, and lime juice over ice. Shake for about 15 seconds.
- Strain the margarita into glasses. Garnish with blood oranges.
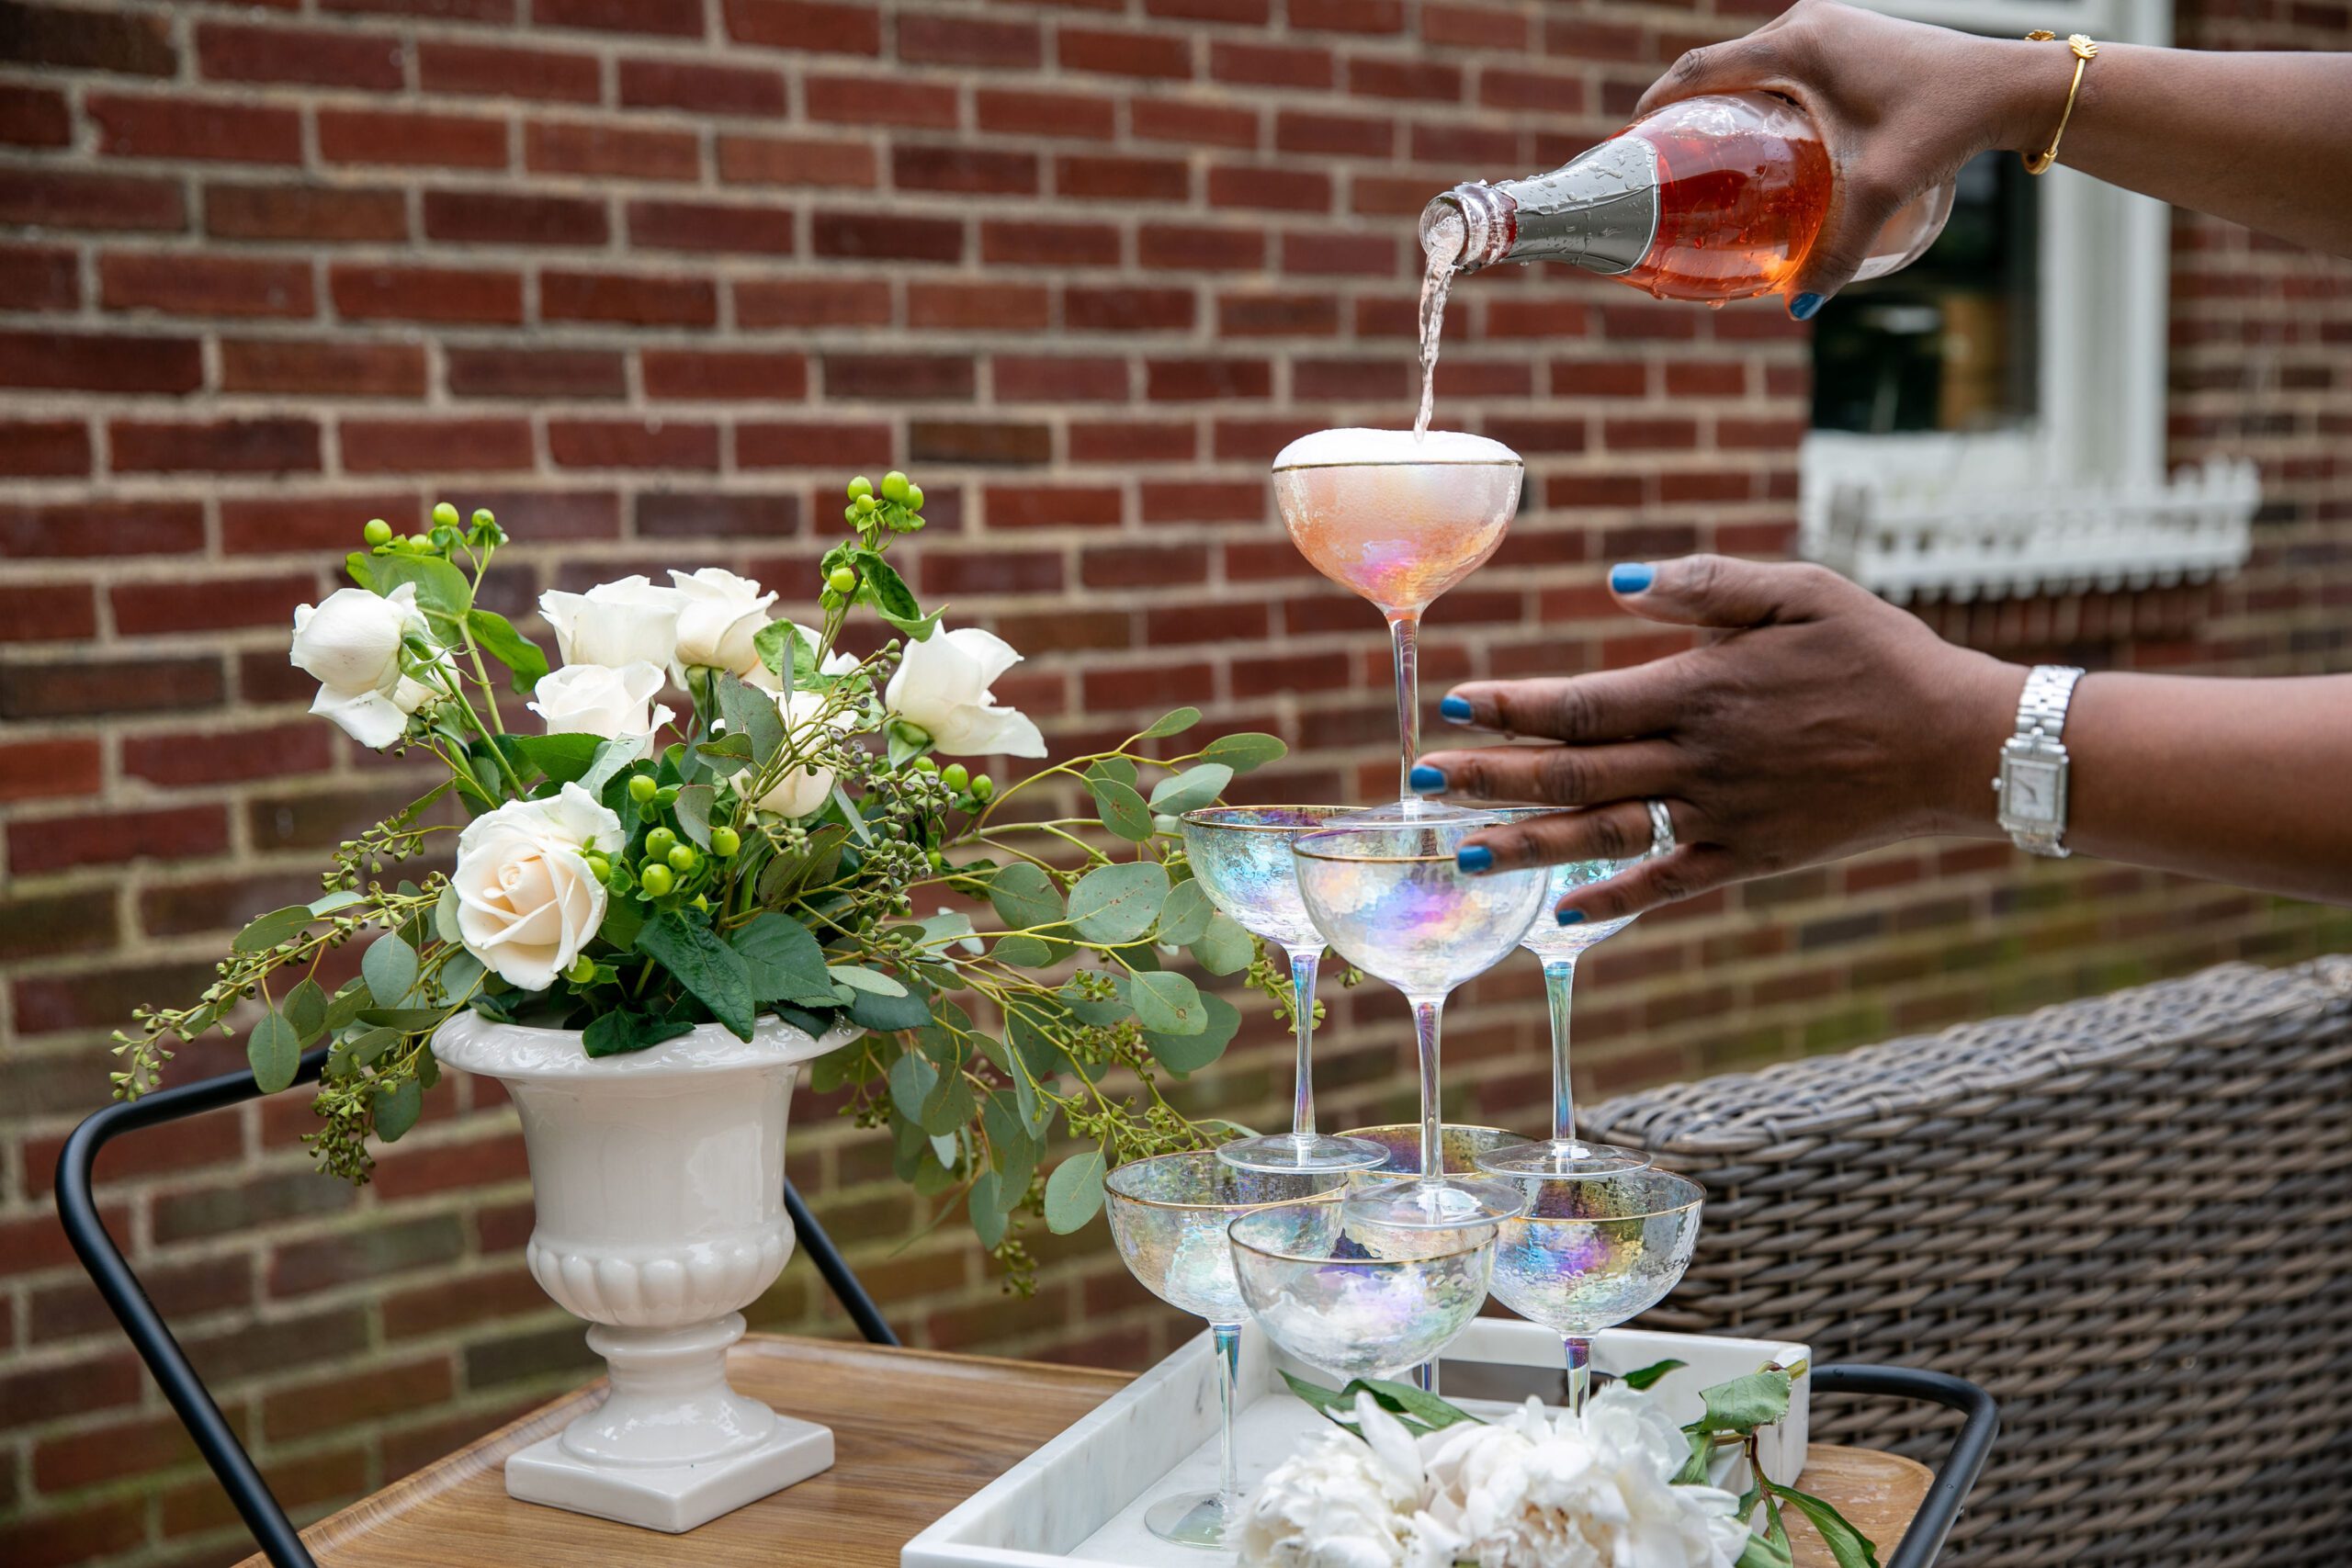
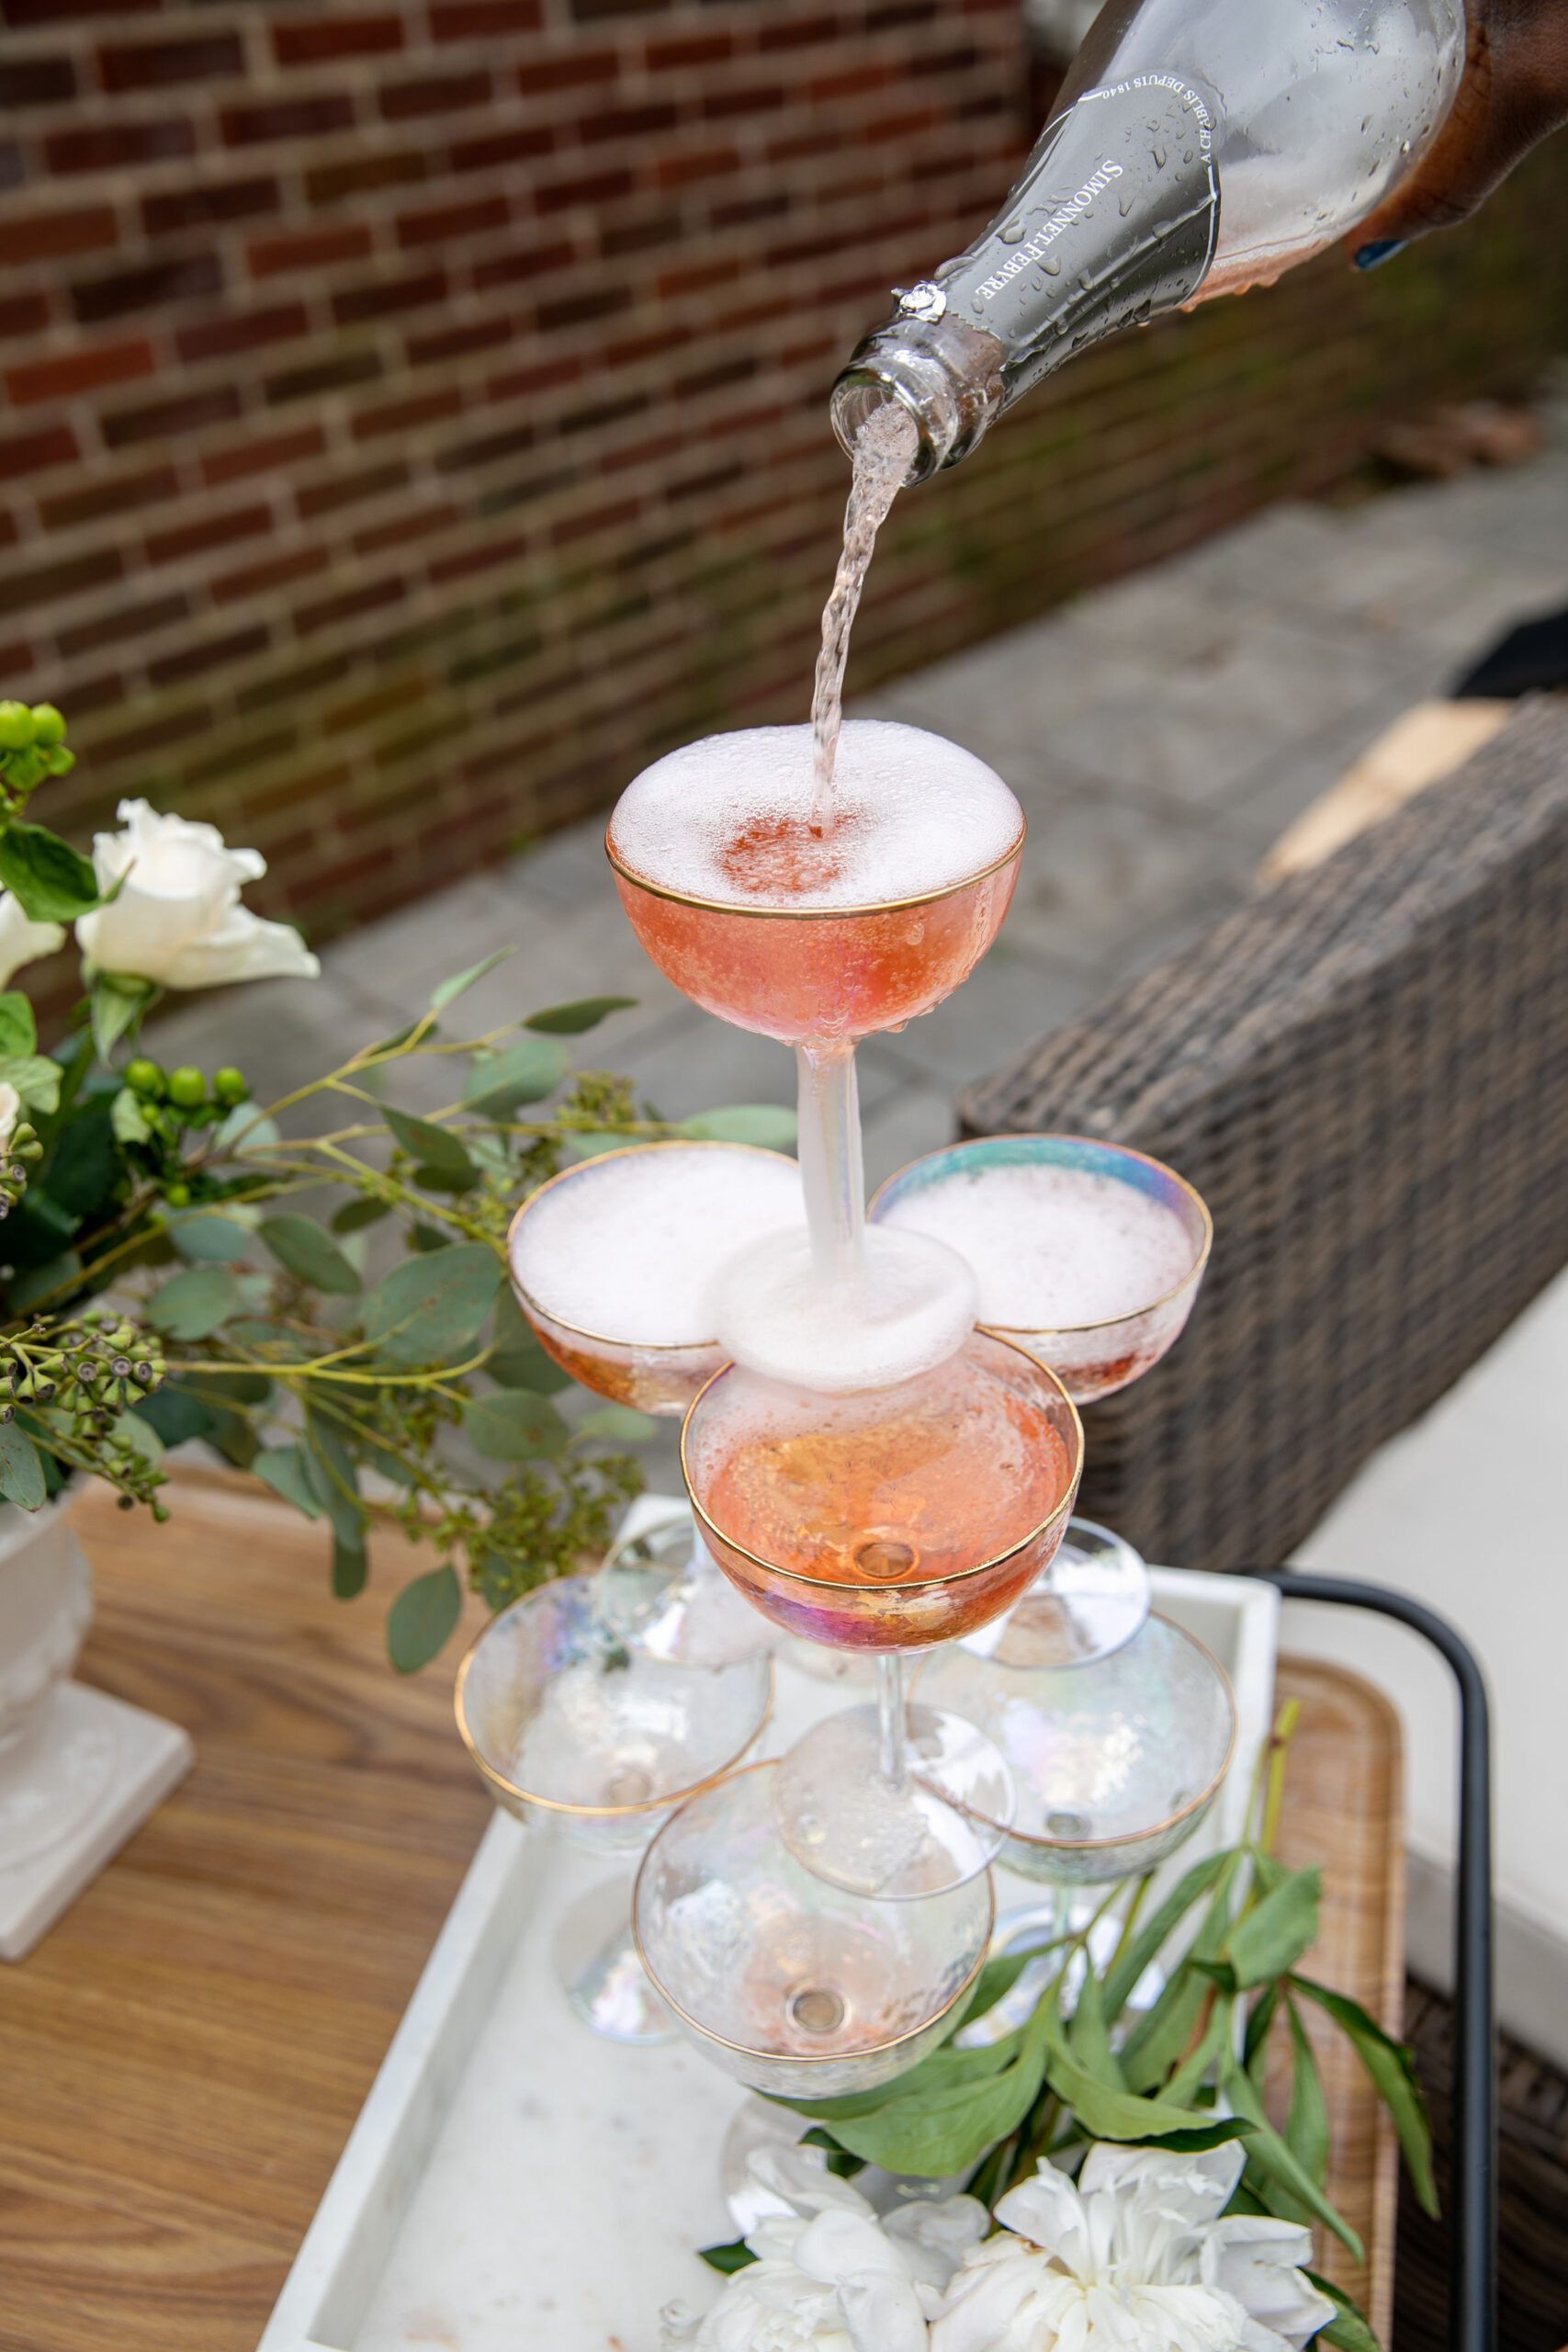
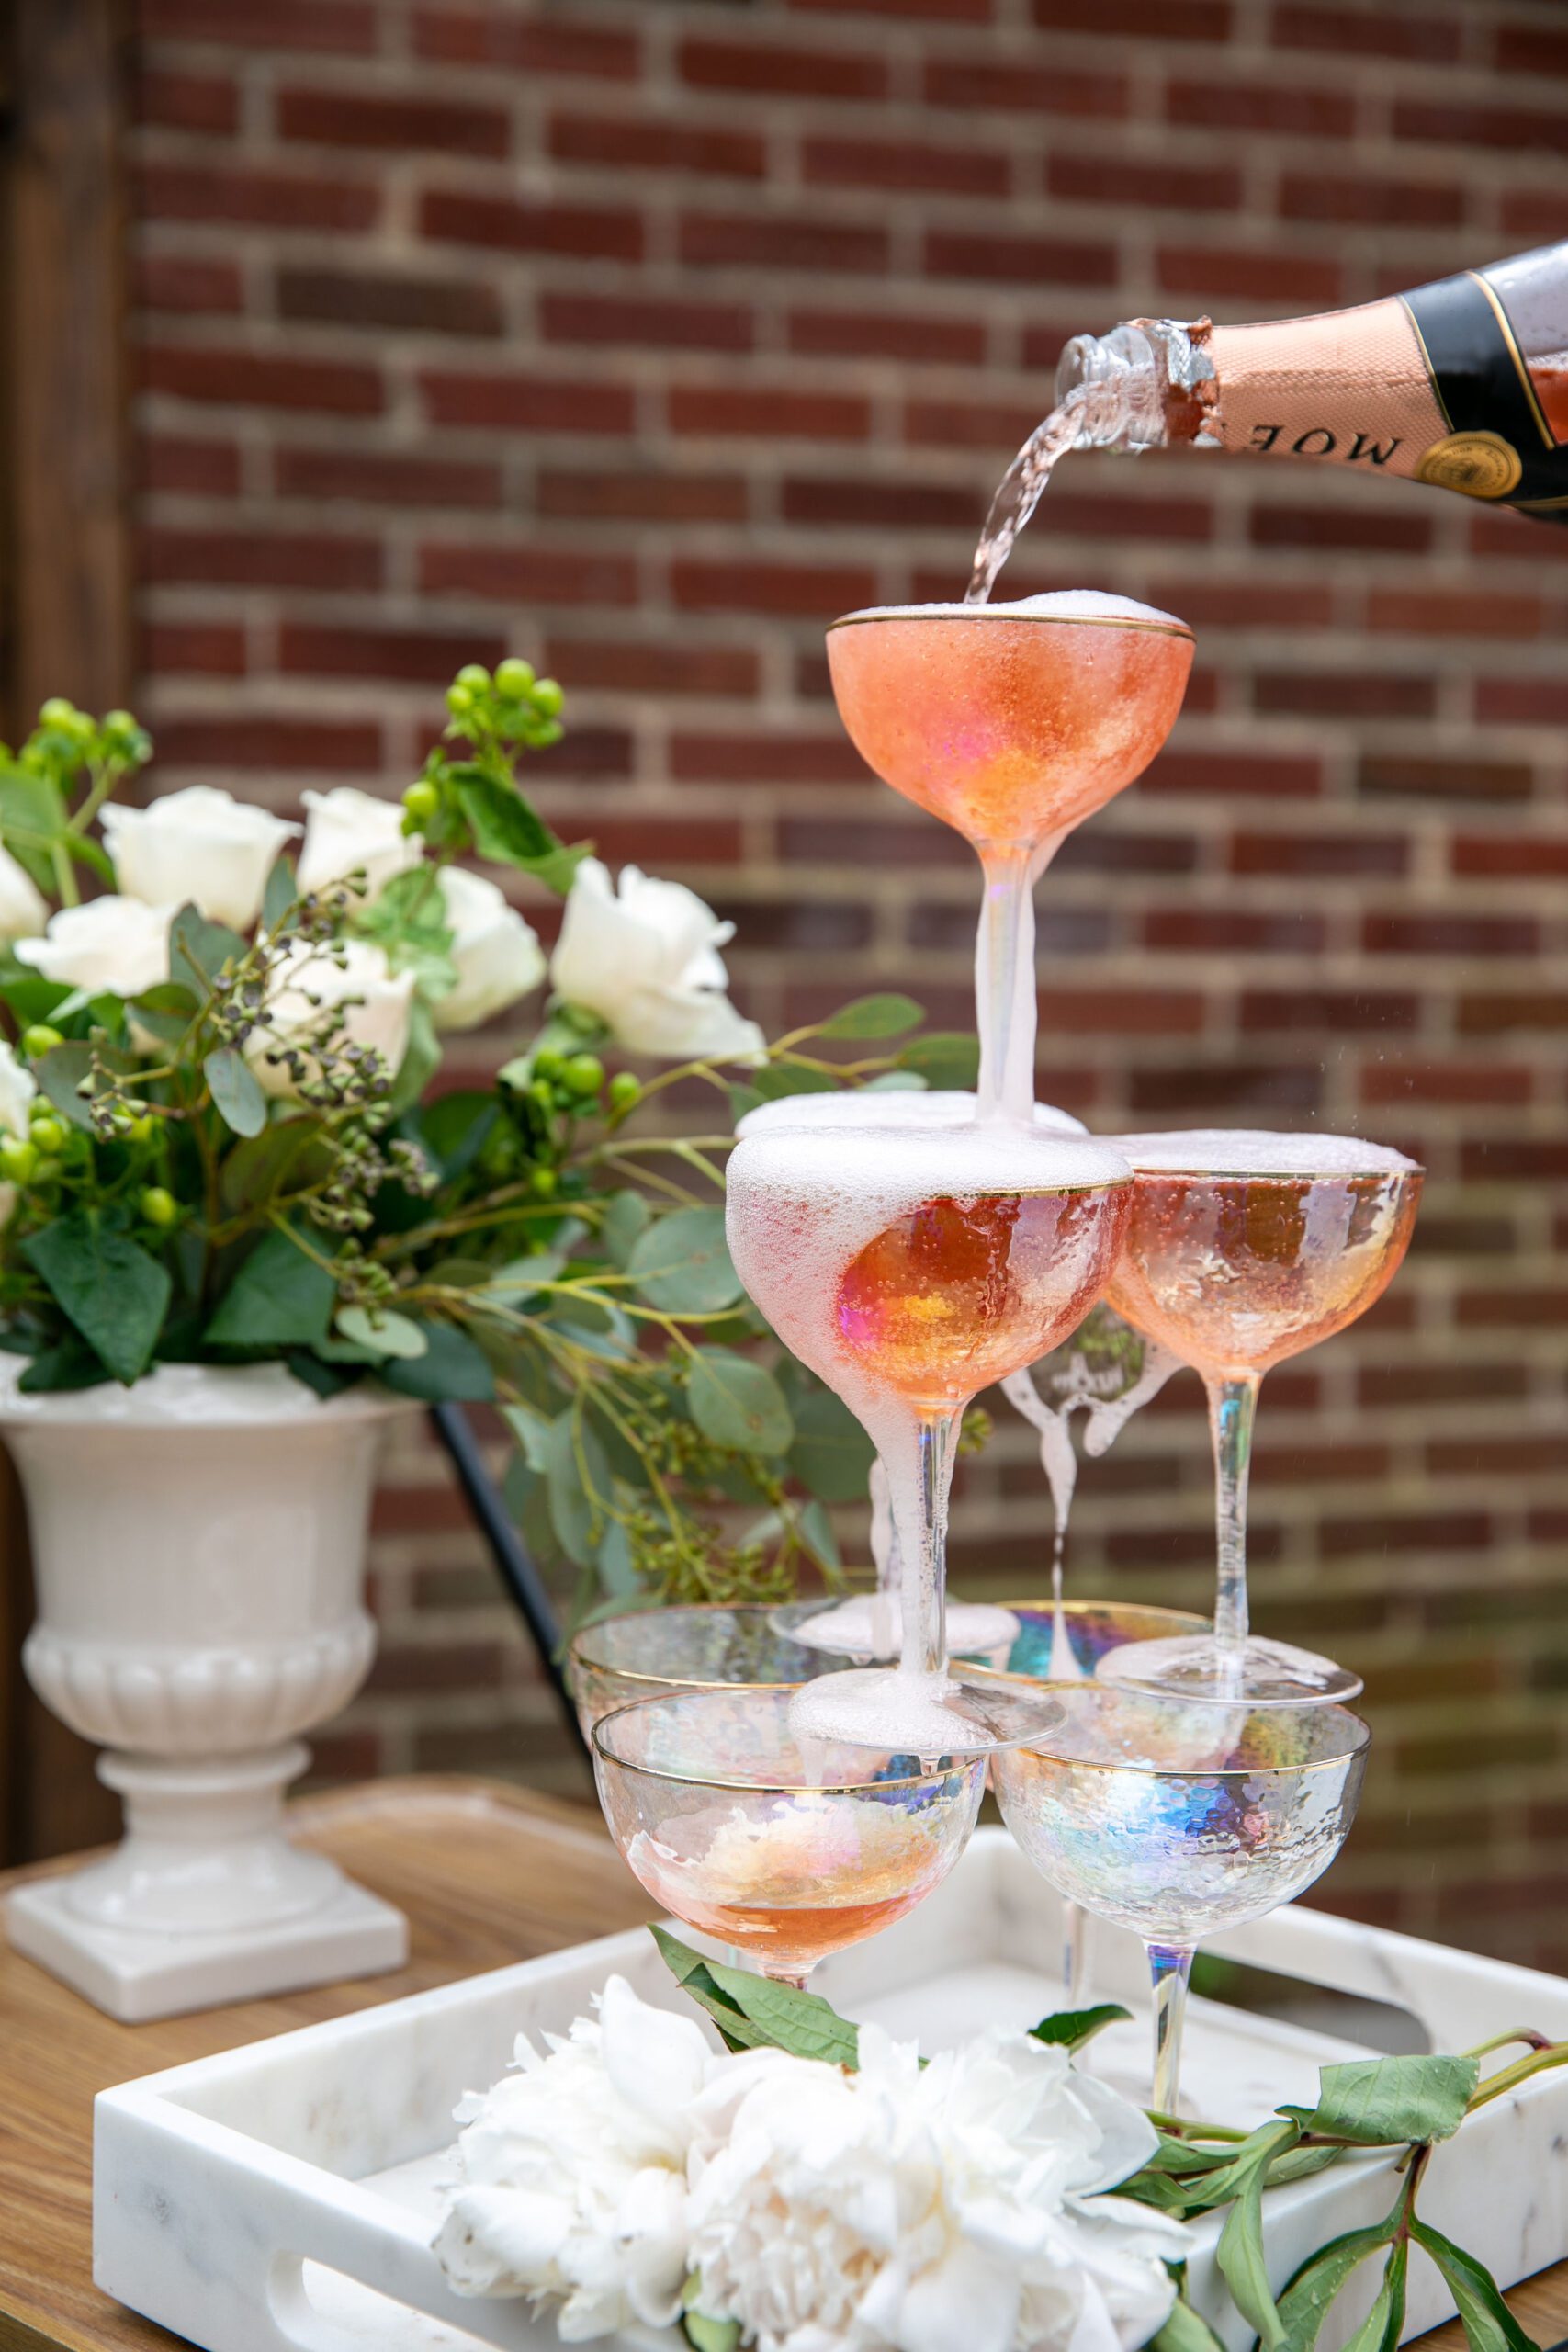
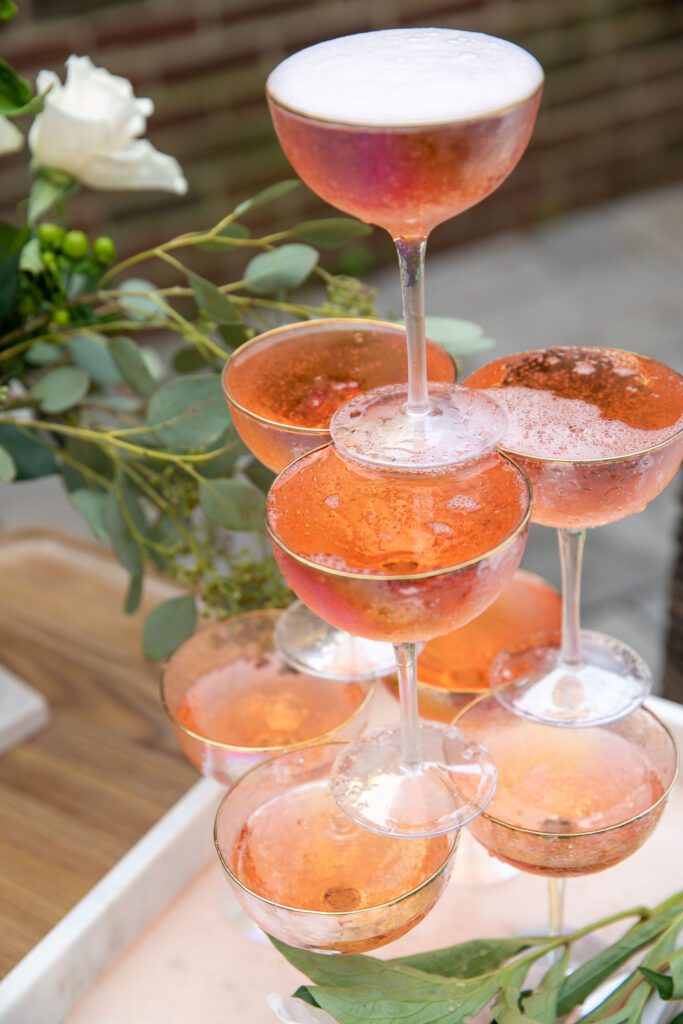
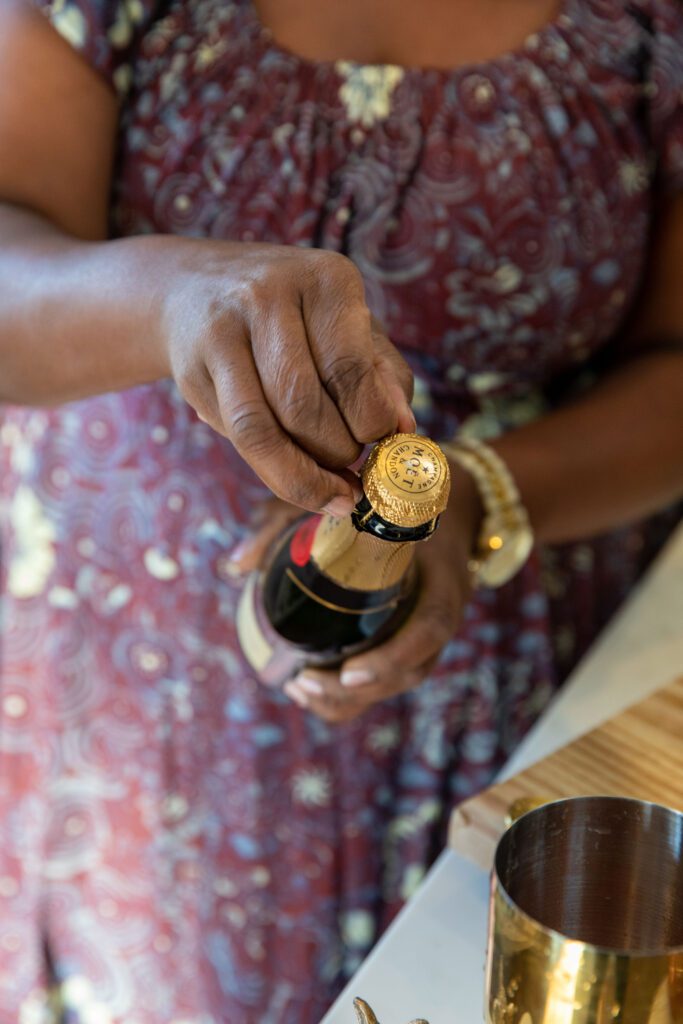
Finally, the Blood Orange French 75 (makes 2 cocktails)
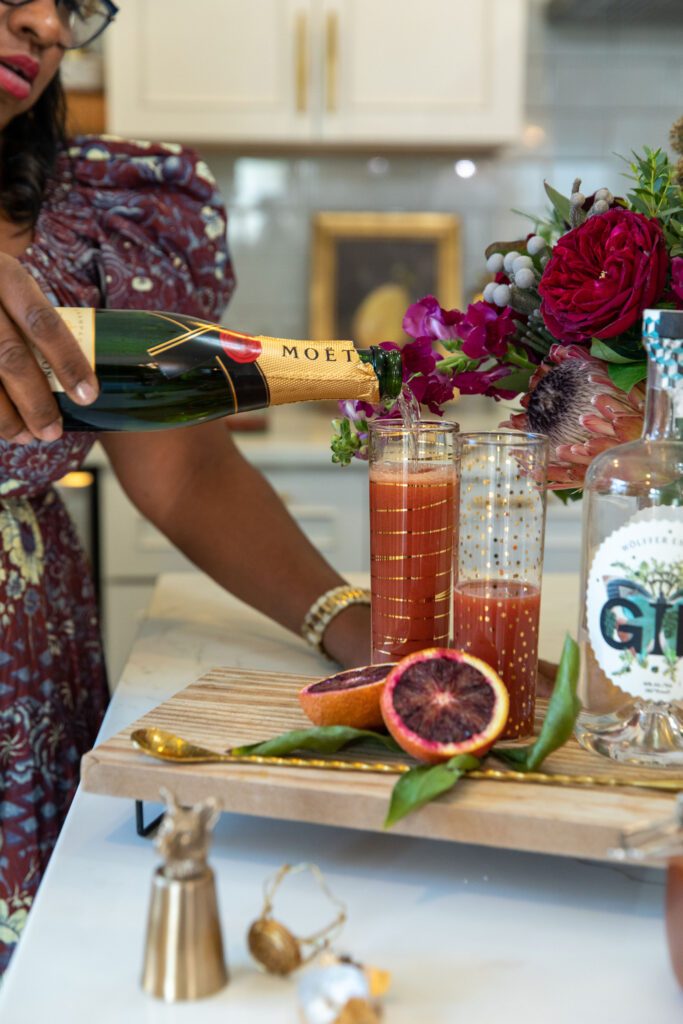
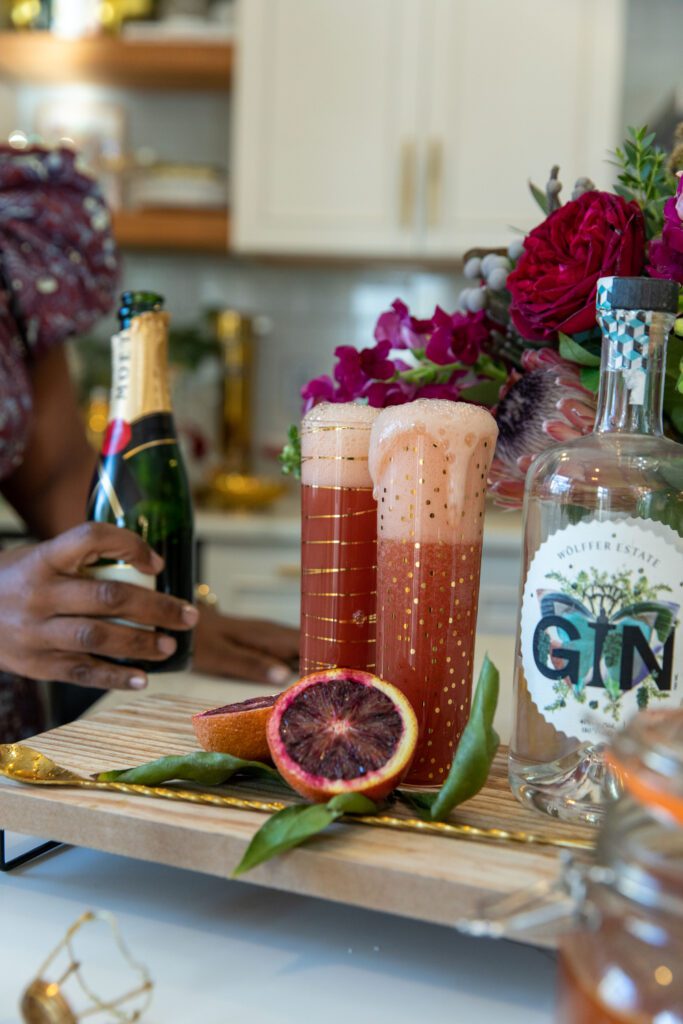
Ingredients (makes 2 mixed drinks)
- 3 oz gin
- ½ oz fresh blood orange juice strained
- 1 oz simple syrup
- Ice
- Sparkling wine
Instructions
- Add gin, strained blood orange juice, simple syrup, and ice to a cocktail shaker.
- Shake and pour into two champagne flutes.
- Top with sparkling wine. Garnish with a blood orange twist. Enjoy!
Notes:
You can store your blood orange syrup for up to a month in an airtight container or canning jar. To check if your syrup has gone bad, check for a cloudy look or off smell. I used store bought blood orange juice but you can certainly feel free to squeeze your own.
I hope you will find making these boozy blood orange cocktails a breeze. These cocktails are so delicious and I am sure your guests will think so too.