There is really no better fun than hosting friends and family for the holiday season. With these 6 tips for hosting a memorable holiday party, your event will be foolproof. This time of year especially lends itself to merriment since guests are already in a festive mood and ready to party. Whether you’re planning a family gathering or an intimate celebration with friends, there are countless ways to make your holiday party stand out. Here are 6 tips best to help you navigate the holiday party planning process, ensuring that your event is fantastic, festive, and fun.
The Location
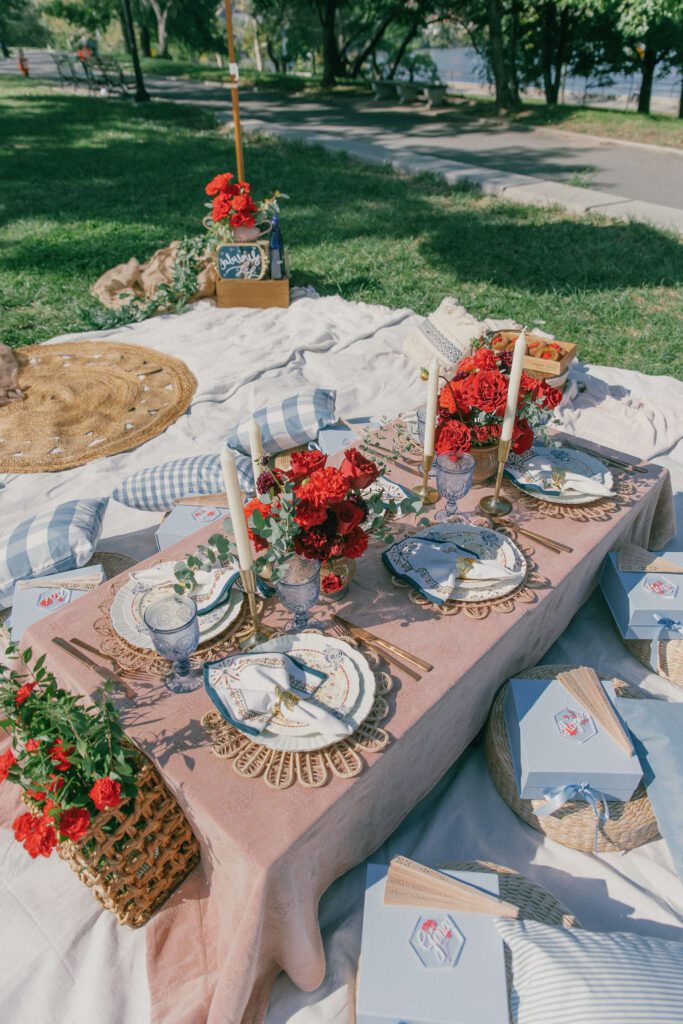
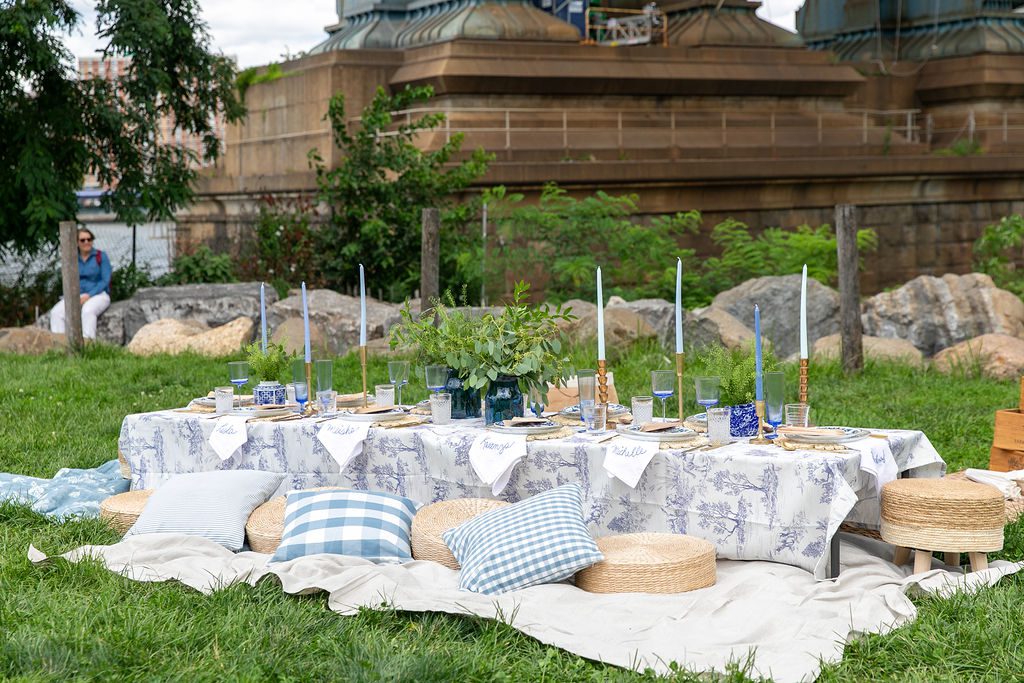
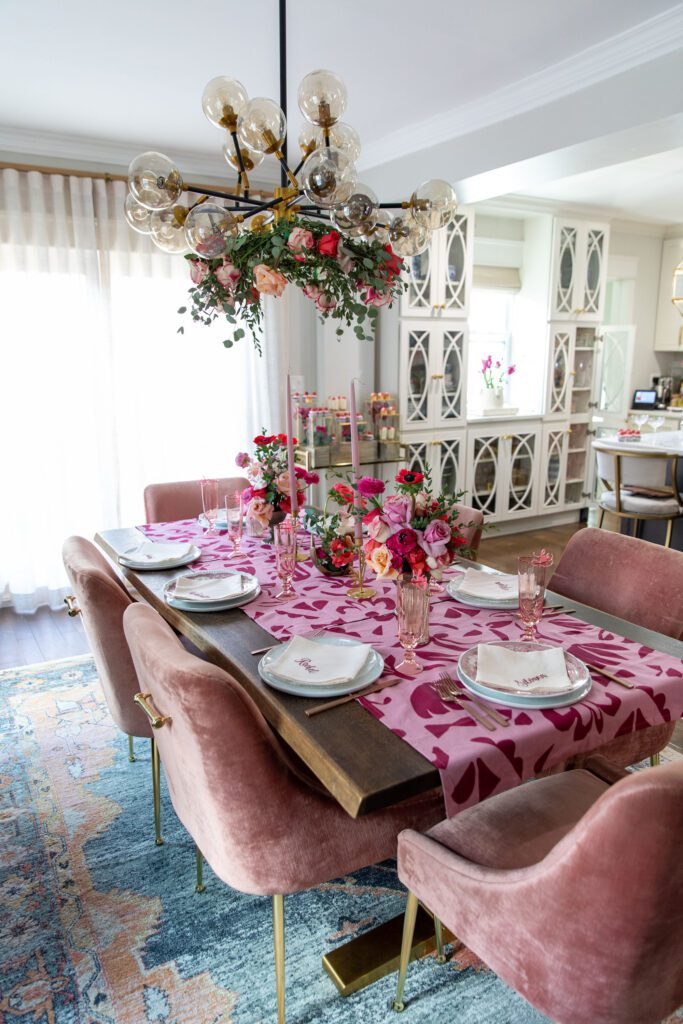
Naturally, the most obvious choice would be your home. Consider the size of your guest list and whether your space can accommodate everyone. Do not hesitate to move furniture around in your living room to make it more conducive to a party. Create small gathering areas with seating around small tables throughout the space. If your home is not available, a rented event venue can be used.
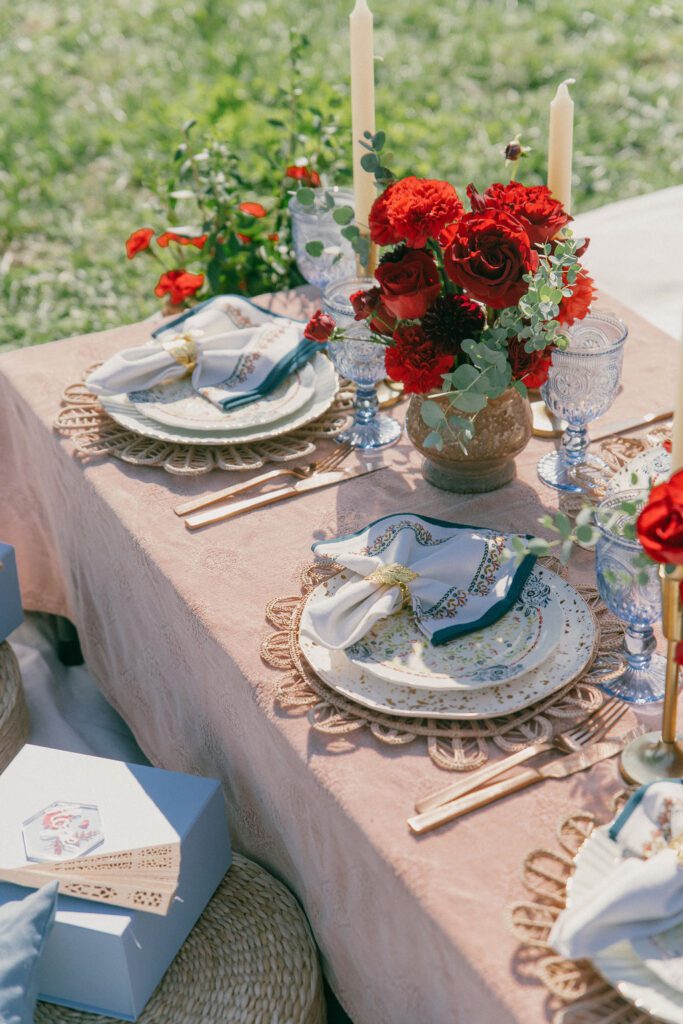
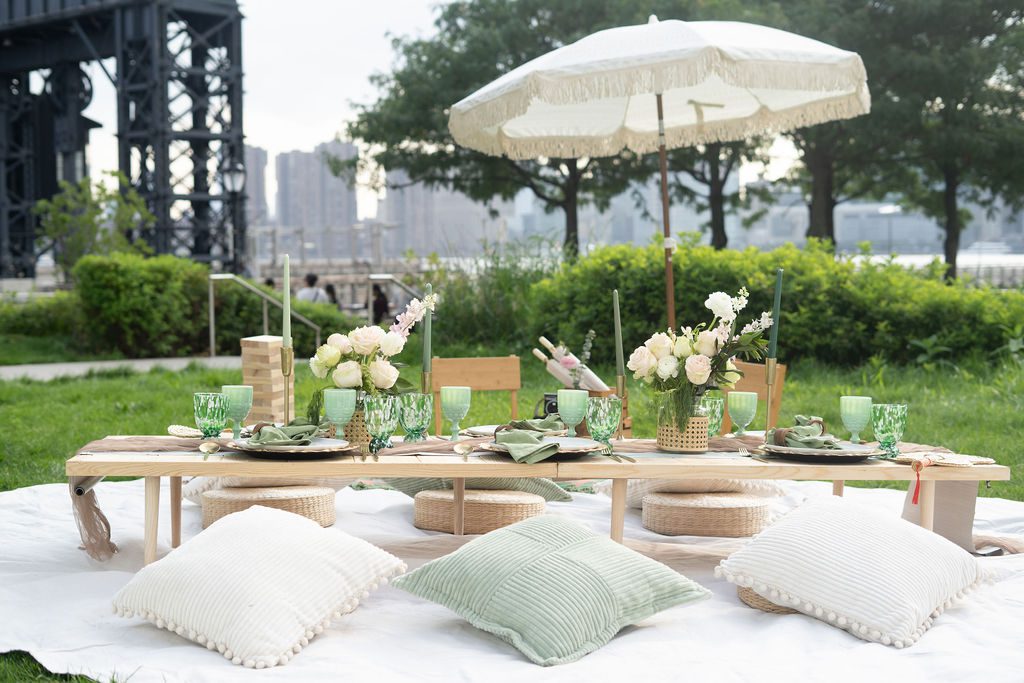
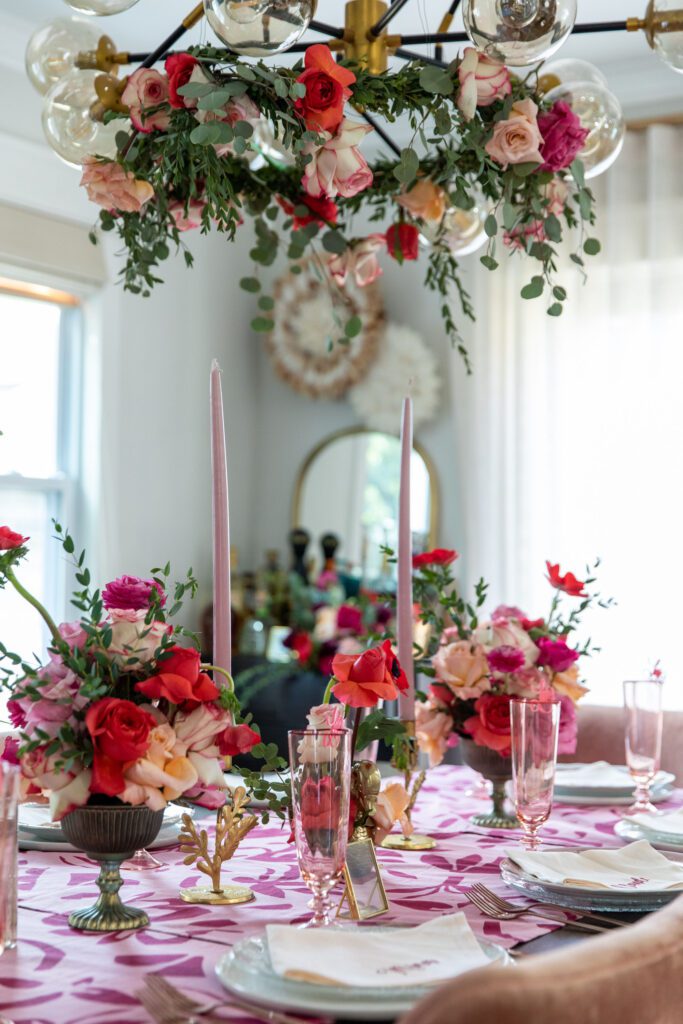
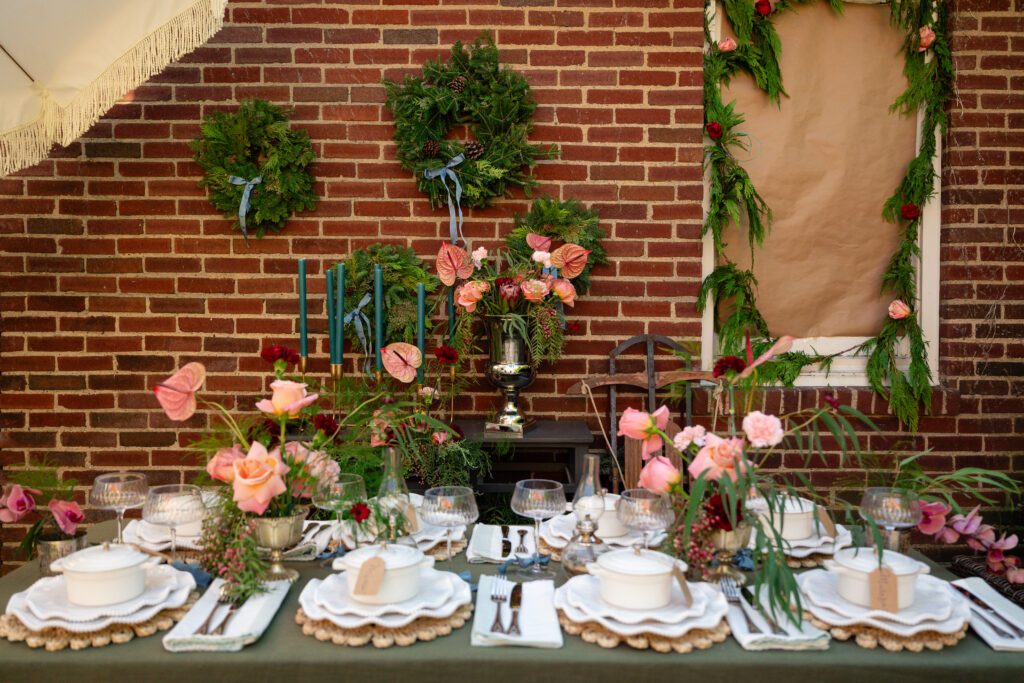
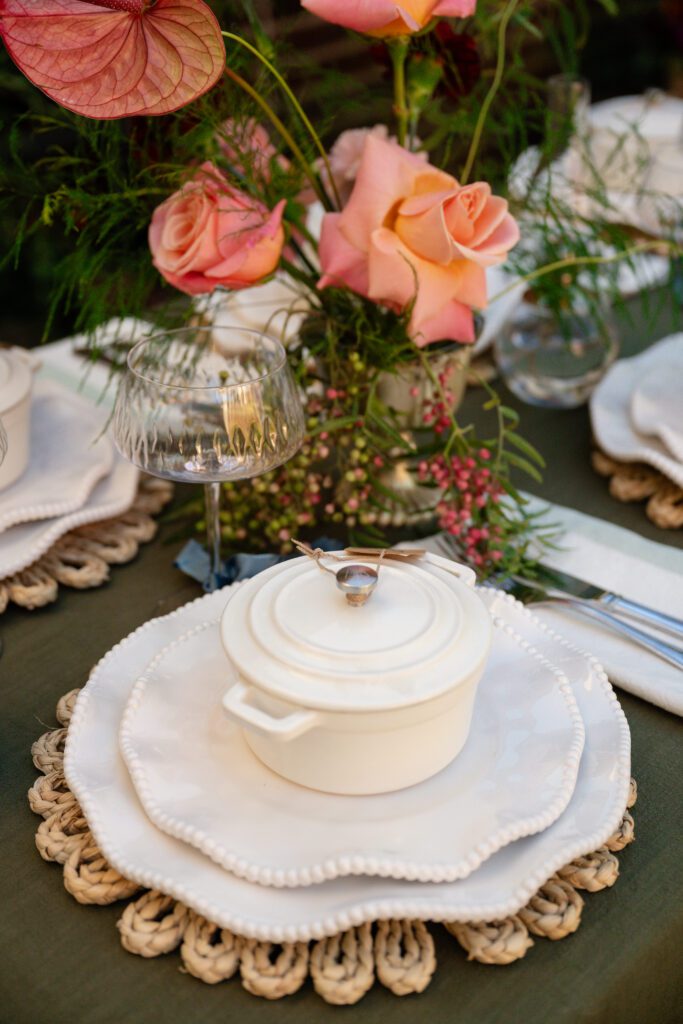
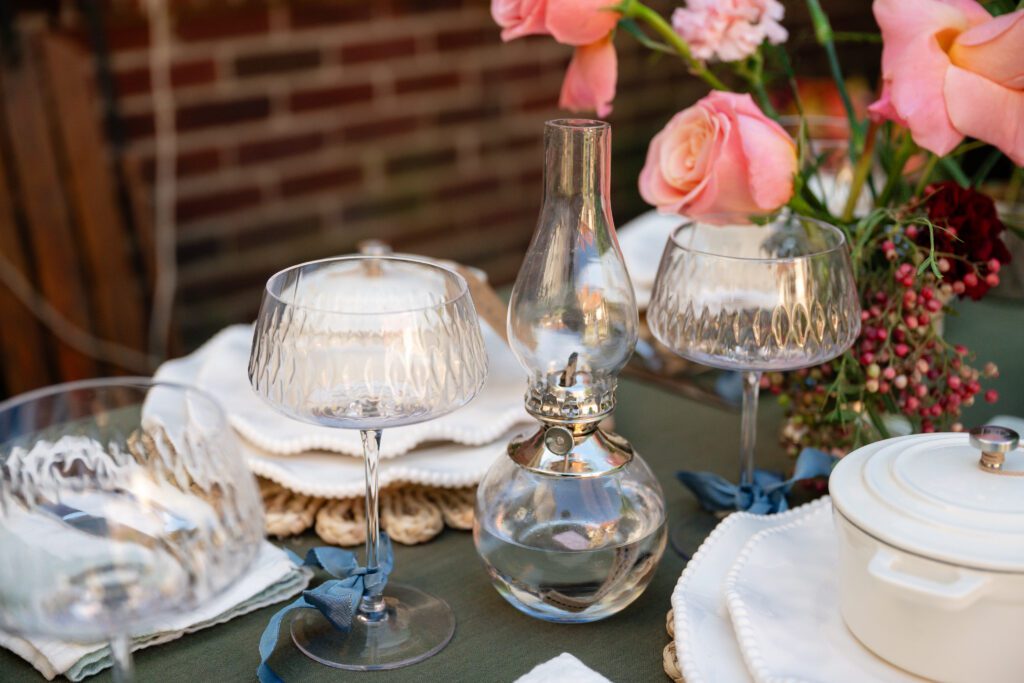
The venue sets the tone and will be the backdrop for the entire event. Create a comfortable and welcoming space for your number of guests. You can do this by ensuring that your guests have plenty of comfortable seating and space to mingle. In addition, pay attention to the lighting. To create a warm and inviting atmosphere, use string lights, and candles to enhance the overall ambiance of the room.
The Guest List
The first step in planning any successful holiday party is creating a well-thought-out guest list. Consider inviting an interesting mix of friends or family to make your event diverse and dynamic. Pro Tip: Invite someone who is a little bit of a partier to stir the pot.
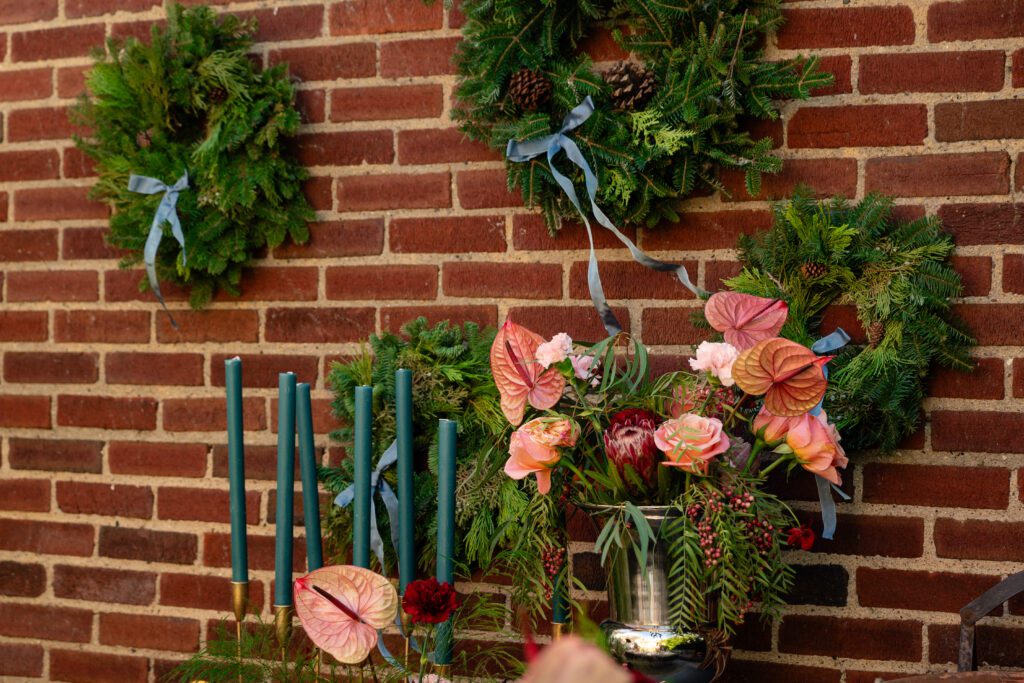
The Theme and Decor For Hosting A Memorable Holiday Party
Set the Stage with a Festive Theme and Decorations
Being that it’s the holiday season you probably would already have your home decked out with Christmas decorations. Lean into this and elevate your party by selecting a festive theme that resonates with the holiday season. From a classic White Christmas to a fun Ugly Sweater Party. A theme provides a cohesive and visually appealing backdrop for your event. Deck the halls with festive decorations, string lights, and Christmas ornaments. Consider adding a photo booth with holiday-themed props to capture the joyous moments throughout the night.

The Menu
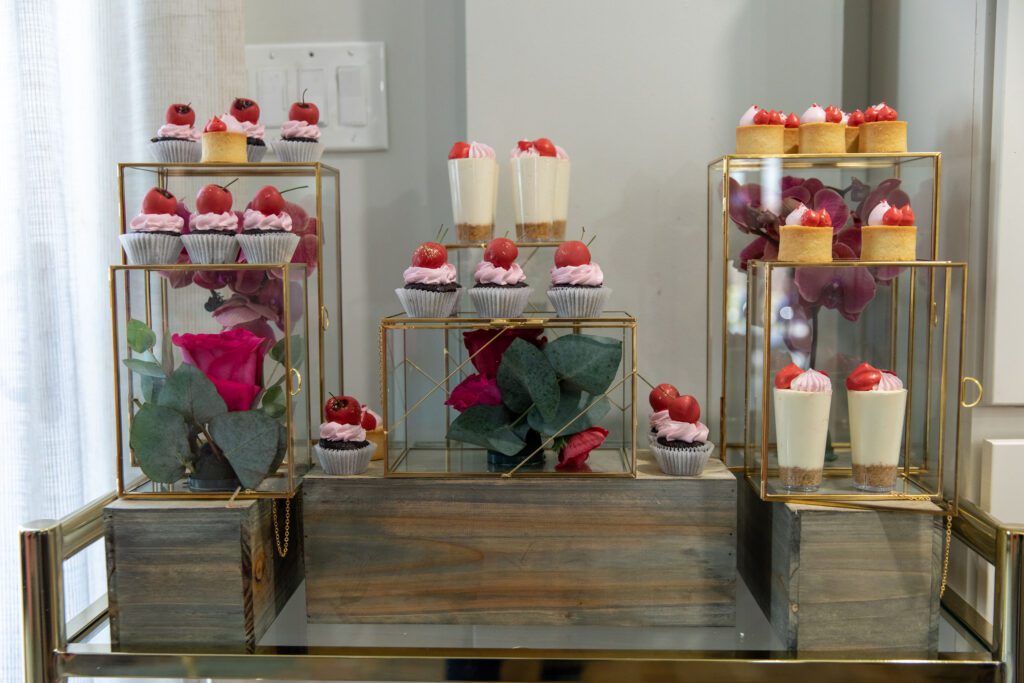
Pro Tip: As for the menu, keep it simple. Make menu items that you make well and also feel free to order everything! Hit up your favorite restaurant, caterer, or gourmet deli. For drinks, there is no need to play bartender. Set up a small bar with help-yourself stations of wine, beer, and a signature batched cocktail in a punch bowl. One of the most important things in hosting is time with your guests. That is the point of a great party.
The Fun Activities to Keep Guests Entertained
Elevate your holiday party with engaging and festive activities. Consider hiring a live band or DJ to get everyone in the holiday spirit. If that is not in the budget a killer playlist will do the trick.
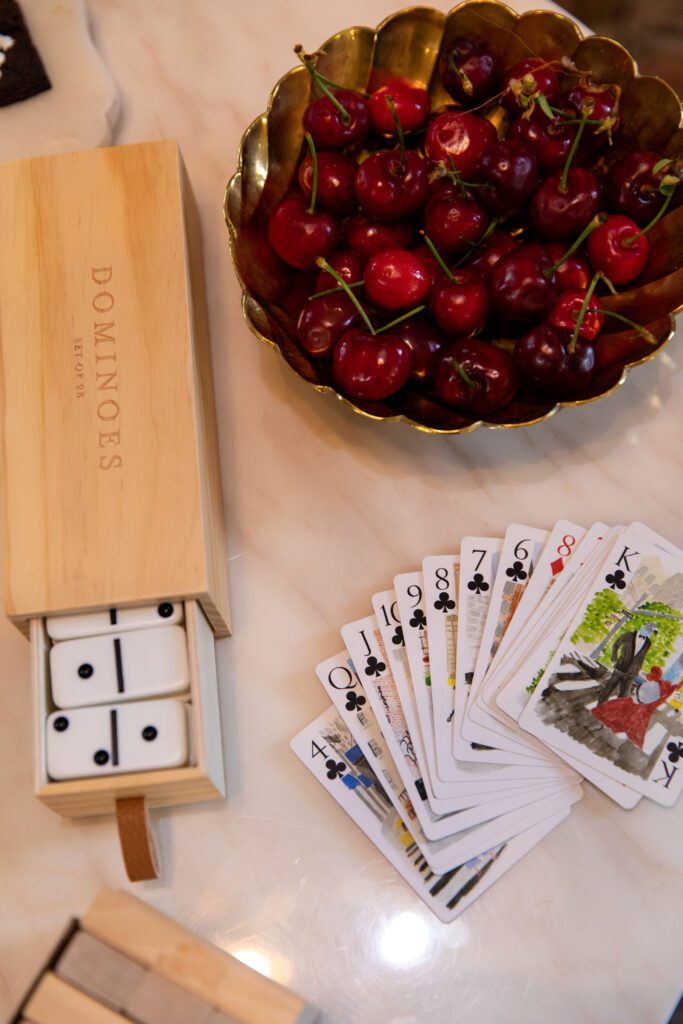
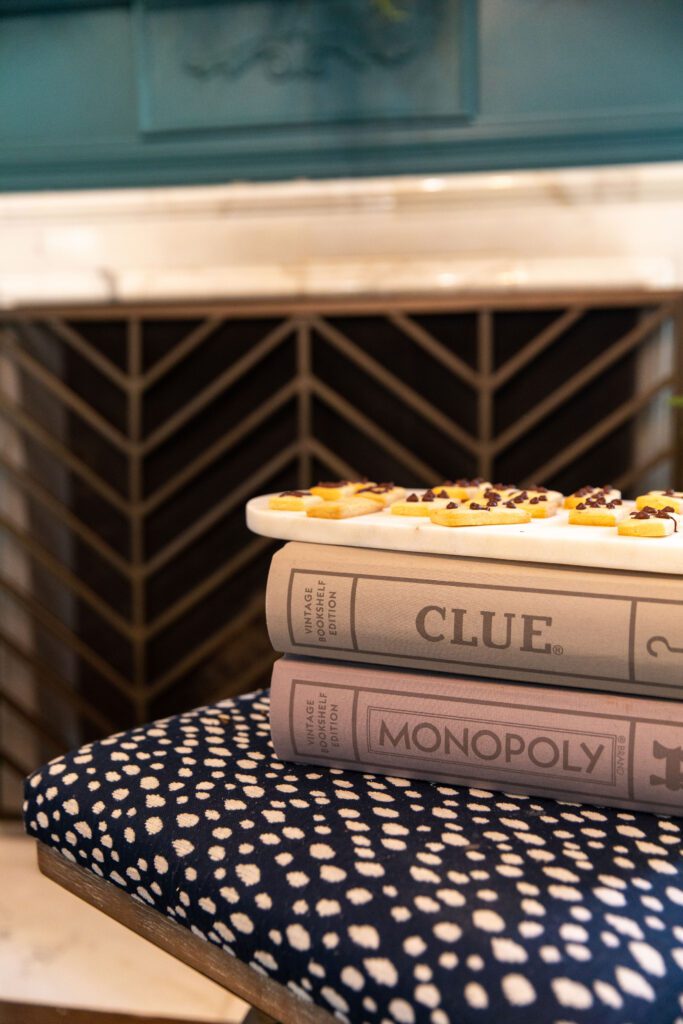
Consider organizing a fun Ugly Sweater Contest or a White Elephant Gift Exchange, or even a Secret Santa for an interactive and entertaining experience. Board games and a wreath-making station are also excellent options.
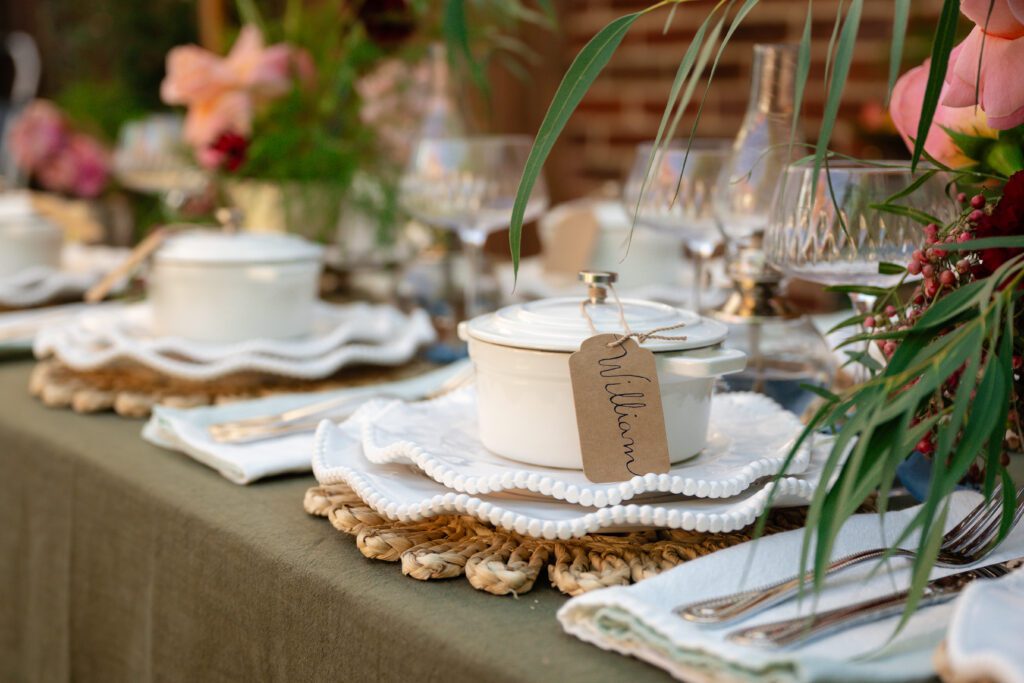
Focus On The Little Details
Show your appreciation to guests with thoughtful party favors that reflect the holiday spirit. From scented candles and hot chocolate mixes to holiday-themed gift cards, small tokens go a long way in making your event unforgettable.
Design eye-catching holiday party invitations that set the tone for the celebration. Whether you choose digital invitations or traditional cards, make sure they reflect the festive nature of the event.
A photo booth is another way to make your holiday party stand out. It provides a fun way for guests to capture candid moments and creates lasting memories. Supply props that match your theme and encourage guests to strike a pose throughout the night.
Hosting a memorable holiday party is a wonderful way to spread joy and celebrate the festive season with loved ones. By carefully considering your guest list, venue, theme, and details such as party favors and activities, you can take your holiday party to the next level. Planning ahead is key. Give yourself a good head start so that your party runs smoothly. Whether it’s a friends-only event or a family gathering, these 6 tips will guide you through the planning process. Following these 6 best tips for hosting a memorable holiday party will ensure that your holiday party is an unforgettable and joyous occasion for everyone involved. Cheers to a season filled with laughter, good company, and lasting memories!